
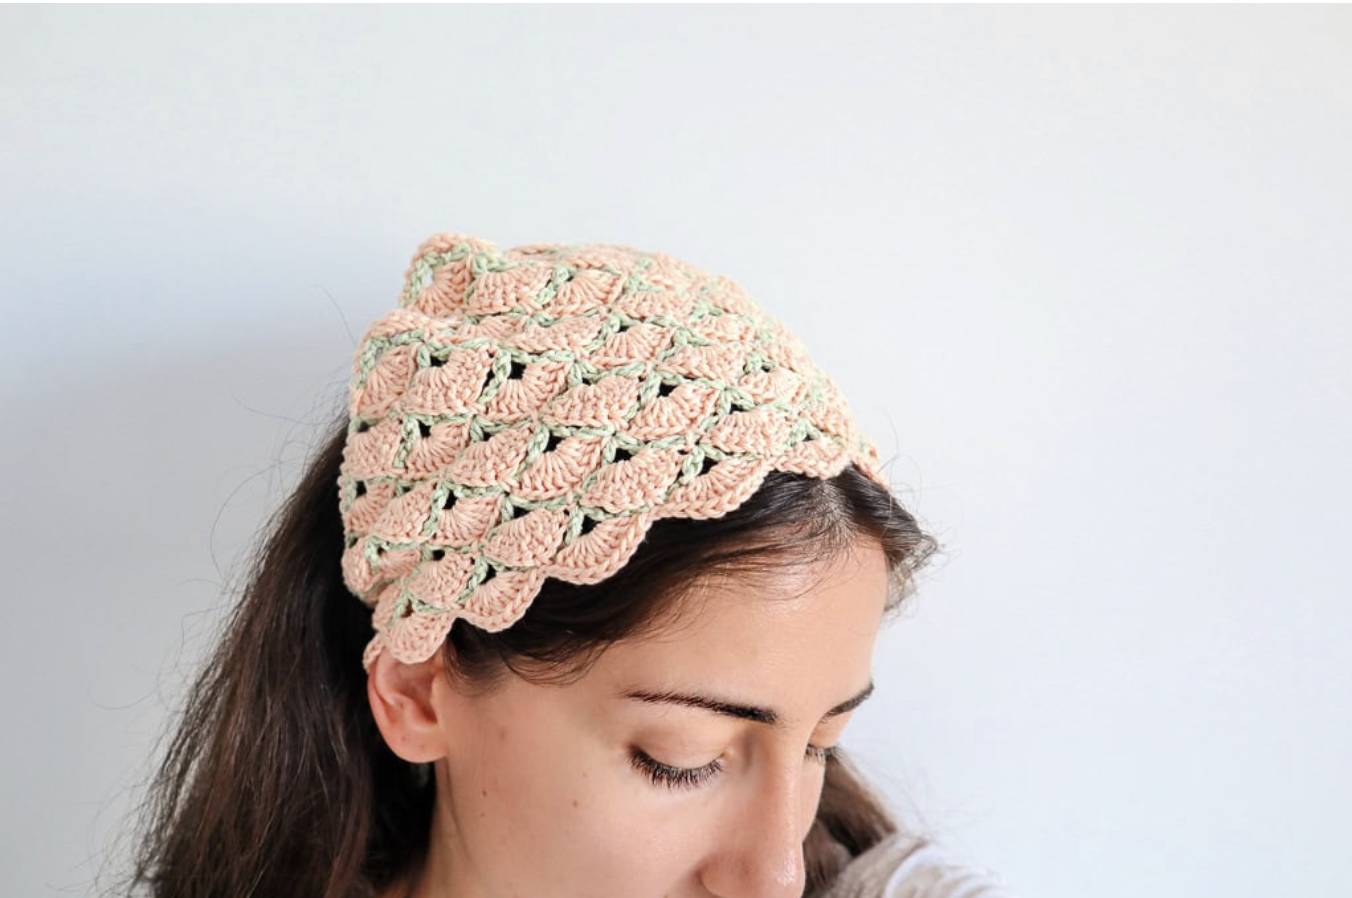
Beautiful Shells Bandana Crochet Tutorial: Master the Scaffold and Shell Stitch
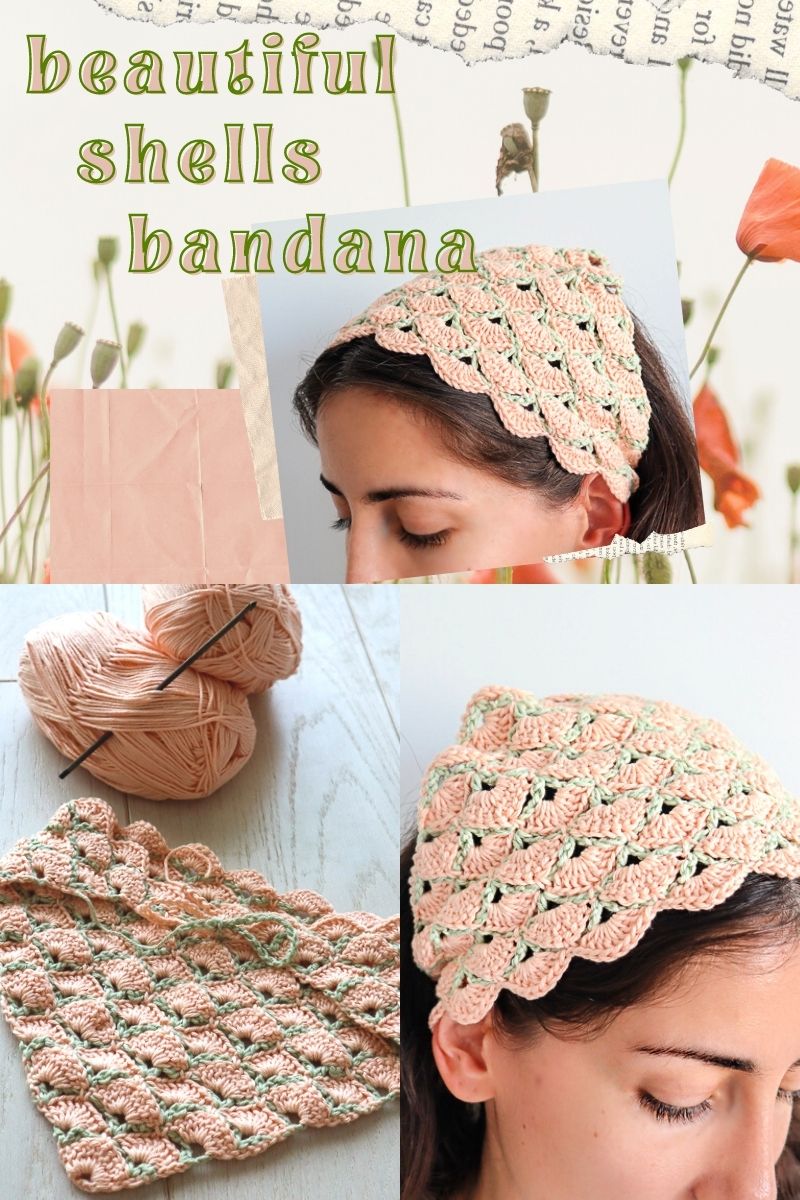
Some crochet stitches look complicated because of the number of stitches involved. Others look complicated because the fabric is constructed in a completely different way from what you may expect. The Beautiful Shells stitch belongs to the second category. Its distinctive appearance comes from a simple but clever idea: first create a framework of chains and V stitches, then build substantial shells onto that framework.
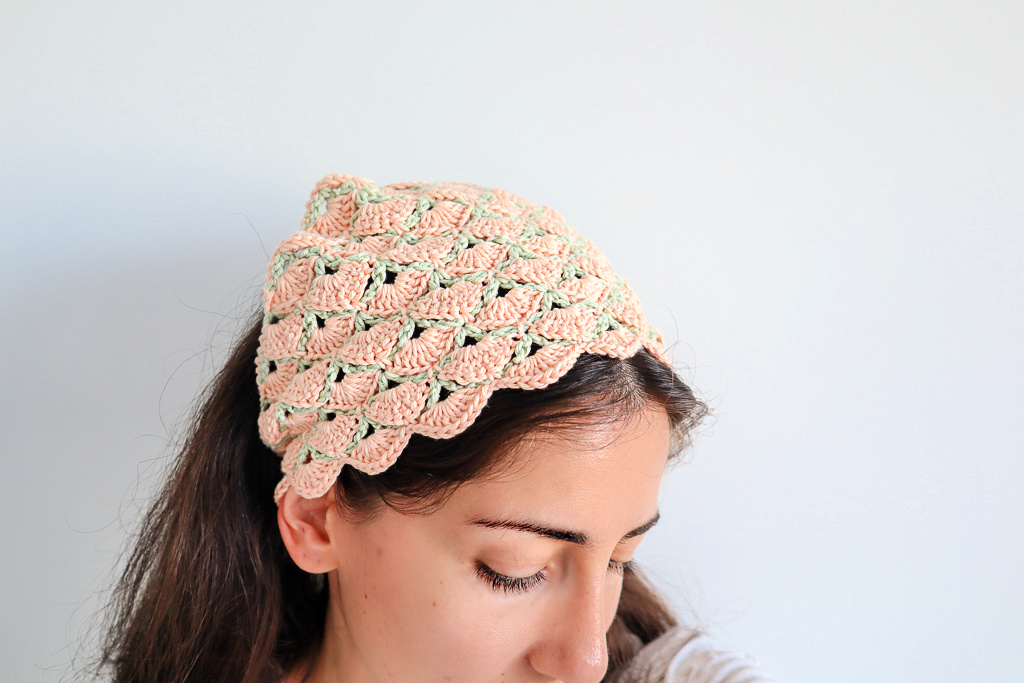
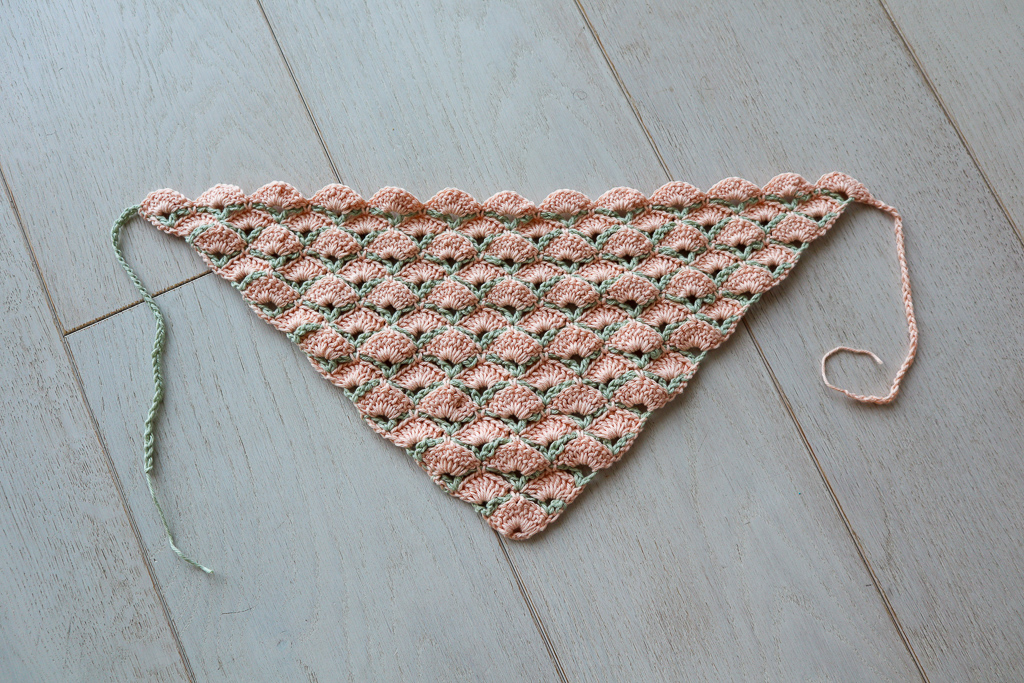
This Beautiful Shells Bandana is a compact way to explore that technique without taking on a large project. The piece begins at the smallest corner and gradually grows through alternating framework and shell rows. The original version uses two colors, making the construction particularly easy to observe as the fabric develops.
The project is also a useful introduction to a special color-changing method. Rather than cutting the yarn after every row, the two colors remain connected. The live loops are transferred during the color change, allowing the work to continue without carrying one strand across the entire row.
For crocheters who enjoy learning through small projects, this bandana offers several skills in one design: working into a starting ring, recognizing V stitches, creating shell groups, using chain spaces as a scaffold, managing live loops, changing colors, checking stitch placement, and measuring a growing bottom-up project.
Why This Bandana Is a Great Stitch Practice Project
A new stitch can be difficult to understand when it is presented as part of a large shawl or blanket. You may have to complete many rows before you can clearly see what each group of stitches is doing. This project takes the opposite approach.
The bandana starts small and develops quickly. Within the first few rows, you can already see the basic relationship between the open framework and the dense shells. That makes it easier to connect the written instructions with the actual fabric in your hands.
The project also introduces the idea of building one row specifically for the next row. The framework is not simply a decorative row. Its V stitches are the places where the shell groups will be worked. The chain-5 spaces also have a defined purpose in the construction.
This type of crochet architecture is used in other intricate-looking stitches, including the popular Virus Stitch. The Beautiful Shells stitch is described as a simpler cousin, making it a useful place to begin if this general construction strategy is new to you.
Original Pattern Specifications
- Yarn weight: DK weight cotton
- Yarn colors: Two colors
- Original yarn amount: Less than 50 yards of each color
- Green yarn: Paintbox Yarns Cotton DK
- Peach yarn: Baby Cotton from Ice Yarns
- Crochet hook: 3.5mm
- Finished measurement: 18 inches (46cm) along the long side
- Original row count: 25 rows
- Construction direction: Bottom-up
- Finishing: Chains a few inches long from the available working yarn on either end for headband ties
The pattern notes that you can experiment with any yarn weight and hook size because the bandana grows from the very bottom corner. However, changing the yarn or hook means that your final gauge, drape, and measurements may differ from the original. The specifications above describe the original version.
Materials and Setup
For the original bandana, gather two colors of DK weight cotton yarn and a 3.5mm crochet hook. Only a small quantity is needed, with less than 50 yards of each color used in the original project.
Assign one color as Color A and the other as Color B. The pattern begins in Color A, while the first framework row uses Color B. Keeping these labels consistent is important because the written instructions refer to the colors rather than repeatedly naming the yarn shades.
The original green yarn is Paintbox Yarns Cotton DK, and the peach color is Baby Cotton from Ice Yarns. The pattern can be experimented with using other yarn weights and hook sizes, but if your goal is to reproduce the original project, the 3.5mm hook and DK cotton combination are the appropriate reference.
The Stitch Language You Need to Know
The pattern uses several standard crochet stitches. The unusual part is how they are arranged rather than the individual stitches themselves.
- ch: chain
- sl st: slip stitch
- sc: single crochet
- dc: double crochet
- V stitch: 1dc, ch1, 1dc in the same stitch or space
Pay special attention to the starting chain-3. Whenever the pattern states that it counts as 1dc, include it in your stitch count. This is particularly important for the first row and for the shell groups.
Visualizing the Bandana Before Crocheting
It helps to imagine the project as a repeating conversation between two rows.
The framework row says, in effect, “Here are the spaces where the next shells will be built.” It uses V stitches and chain-5 sections to create an open scaffold.
The shell row then responds by filling the V stitches with large groups of double crochet stitches. The open structure becomes a dense decorative section.
After the shells are made, the next framework row establishes another set of spaces, and the cycle continues.
This alternating structure is the main concept to remember throughout the project. If you understand that relationship, the written instructions become much less intimidating.
Start with Color A
Begin the project with Color A.
Chain 6. Join the chain into a ring by making a slip stitch into the first chain.
This ring forms the foundation of the first row. Check that the chain is not twisted before joining it. Since all of the first row’s double crochet stitches will be worked into the center of this ring, it should remain open and easy to access.
Row 1: The First Foundation
Chain 3. The ch3 counts as 1dc.
Work 8dc into the center of the ch6 ring.
This gives you 9dc total, including the starting ch3.
Once the row is complete, pull the last loop up long and remove your hook. Do not lose this loop. It will be needed for the color transition that follows.
This first row is a good place to establish a habit that will help throughout the project: count your stitches before moving on. With the starting ch3 included, the correct total is 9dc.
Row 2: Your First V-Stitch Framework
Insert your hook into the top of the starting ch3 from the previous row.
Switch to Color B.
Chain 4. This ch4 counts as 1dc, ch1.
Make 1dc into the same stitch. You have now created a V stitch:
1dc, ch1, 1dc.
Chain 5.
Make one more V stitch, again consisting of 1dc, ch1, 1dc, all into the last stitch of the row.
At this stage, the piece will look open and somewhat unlike the finished bandana. That is exactly what you want. This row is the scaffold.
Mastering the Live-Loop Color Transition
The color transition is one of the most distinctive techniques in this project. It is worth treating it as its own mini-lesson.
With the live Color B loop on your hook, insert the hook into the live Color A loop.
Chain 3 in Color A only.
Pull the Color A loop through the Color B loop.
Again chain 3 in Color A while carrying Color B up the chain.
Turn your work.
The purpose is to switch the working color while keeping both yarns connected. You do not cut the yarn after each row, and you do not carry the inactive color across the full width of the row.
For anyone used to standard crochet color changes, this may initially feel backwards. The most important thing is to slow down and watch the two live loops. Once the movement is understood, the technique becomes part of the rhythm of the project.
Row 3: The First Full Shells
Work Row 3 in Color A.
Make 8dc into the first V stitch. The starting ch3 mentioned in the color-change instructions is included in the shell count, giving you 9dc.
Next, make 1sc in the 5th dc from the previous shell stitch, working on top of the ch5 from the previous row.
Make 9dc in the next V stitch.
Pull the final loop long and remove your hook.
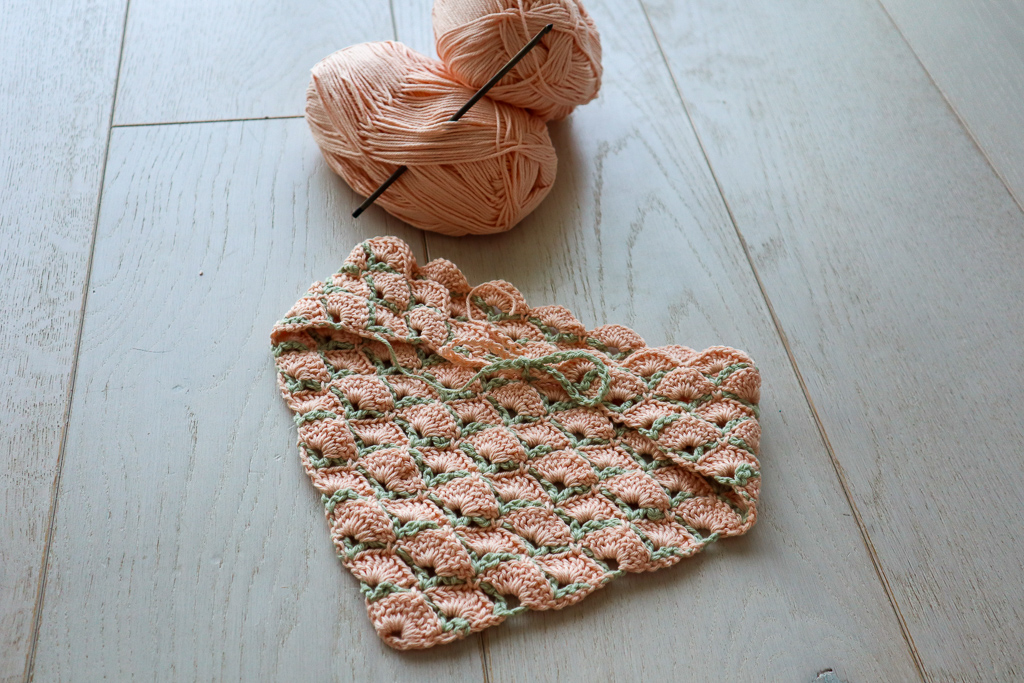
Now the name of the stitch begins to make sense. The groups of double crochet form substantial shell shapes, while the single crochet between them helps connect the sections.
Why the Shells Are Worked into V Stitches
The V stitch is not merely a decorative feature. It creates a central opening that provides a convenient foundation for the shell.
When you work the large group of double crochet stitches into the V stitch, the shell spreads across the opening. The result is a fuller section of fabric that contrasts with the chain-based framework.
This is the key structural idea of the pattern. Once you recognize that shells belong in V stitches, you can use the visual appearance of the previous row as a guide while working later repeats.
Row 4: Rebuilding the Scaffold
Return to Color B for Row 4.
Insert your hook into the top of the starting ch3 from the previous row.
Chain 4. As before, this counts as 1dc, ch1.
Make 1dc into the same stitch to complete the first V stitch.
Chain 5.
Make a V stitch into the single crochet from the previous row.
Chain 5.
Make one more V stitch, consisting of 1dc, ch1, 1dc, all into the last stitch of the row.
Repeat the color-change method so you can continue working in the same direction every two rows without cutting the yarn.
The Repeating Rhythm After Row 4
From this point forward, the pattern develops through repetition. Shell rows fill the V stitches. Framework rows create new V stitches and chain spaces.
Rather than viewing each row as a separate instruction list, it can be helpful to think in pairs:
- Framework: establish the V stitches and chain spaces.
- Shell: fill the V stitches with the larger groups of double crochet.
The colors alternate with these rows, creating the distinctive striped appearance. The exact stitch placement remains the technical foundation, so the visual rhythm should support the written instructions rather than replace them.
How to Keep Your Edges Under Control
Because the project begins at a corner and expands gradually, the outer edges are an important visual reference. If an edge begins to look unusually tight or distorted, check your tension, particularly around the color-change chains.
The special color-change method involves chains made while the other color is being carried upward. These chains should not be pulled so tightly that they restrict the movement of the fabric.
At the same time, maintaining consistent tension throughout the shell groups helps keep the finished fabric balanced. A shell made with significantly tighter stitches than the surrounding shells may look noticeably smaller.
How to Read the Color Sequence
The two-color design gives the bandana an additional visual checkpoint. The original pattern uses one color per row, alternating between Color A and Color B.
This means the color itself can help you recognize whether you are on a shell row or a framework row. If you see the dense shell texture in one color, the next row should return to the other color for the framework.
This is one reason the project is useful for learning the stitch. The colors make the construction easier to see than it might be in a single-color sample.
Stitch Checkpoints for the First Four Rows
Use these checkpoints before moving into the repeating section.
- Row 1: 9dc total, including the starting ch3.
- Row 2: The framework begins with a V stitch, followed by ch5, then another V stitch.
- Color change: Use the live Color B loop and live Color A loop as specified rather than cutting the yarn.
- Row 3: The first V stitch receives 9dc when the starting ch3 is included.
- Row 3: The specified 1sc is worked on top of the ch5 from the previous row.
- Row 3: The second V stitch also receives 9dc.
- Row 4: A V stitch is worked into the single crochet from Row 3.
What to Do If the Pattern Suddenly Looks Wrong
When a stitch pattern has a repeating structure, an error in one row can become more obvious as the following row is worked. If something looks wrong, avoid immediately undoing a large section. First identify the last row that you know was correct.
Look specifically for the V stitches. Are they still visible? Does each shell appear to be sitting in a V stitch? Is the single crochet positioned on top of the appropriate chain-5 area?
Also check your color transition. Because the project keeps the yarn connected, a misplaced loop can affect how the next row begins.
Working backward from the last known correct row is often easier than trying to diagnose the entire project at once.
Continuing Until the Original Size
The original project continues with shell rows and V-stitch scaffold rows until the piece measures 18 inches (46cm) along the long side.
For the original bandana, this was reached at 25 rows.
Use the measurement as the primary finishing reference for the original design. If your tension is different, your piece may reach 18 inches before or after exactly 25 rows. If you are using different yarn or a different hook, this variation can be even more noticeable.
The important point is that the original specification is 18 inches (46cm) along the long side, with 25 rows being the row count reported for the original version.
Experimenting with Yarn Without Losing the Concept
The pattern gives you permission to experiment with yarn weight and hook size because the bandana grows from the very bottom corner. This makes the design more flexible than a project that depends on a fixed starting width.
However, experimentation should be separated from reproducing the original measurements. If you use a heavier yarn, the finished fabric may grow faster. A lighter yarn may require more rows to reach a similar measurement. A different hook can also affect the openness of the framework and the density of the shells.
For a first attempt at the technique, using the original DK weight cotton yarn and 3.5mm hook can make it easier to compare your work with the reference project.
Making the Final Ties
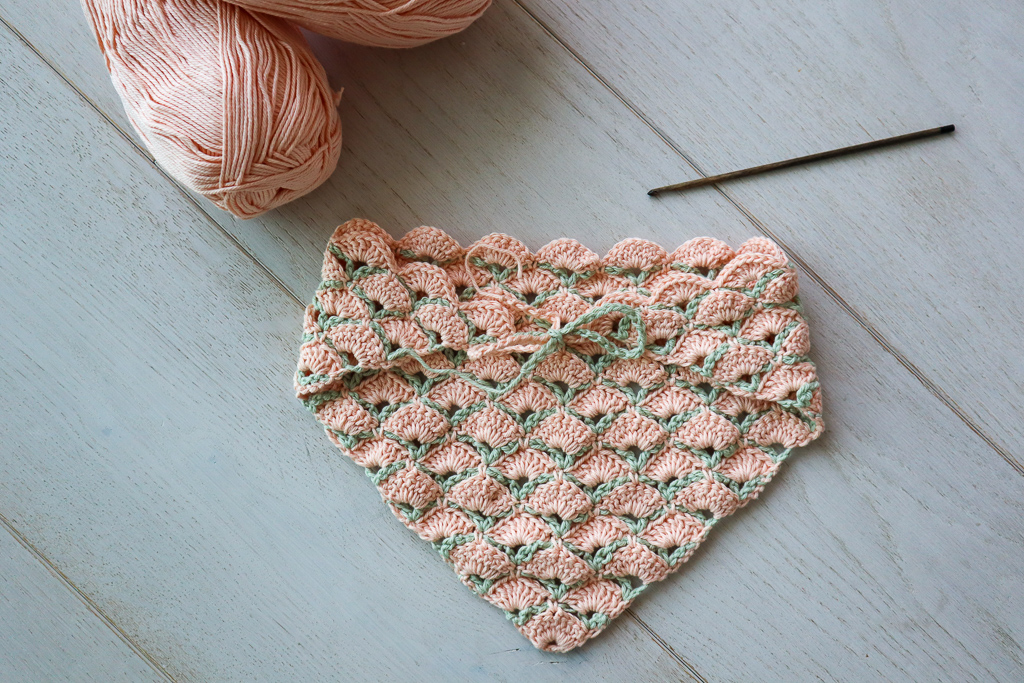
Once the bandana reaches the intended measurement, the remaining working yarn at either end can be used to make chains a few inches long.
These chains function as the ties for the headband.
This finishing technique keeps the project simple. There is no need to introduce a complicated border that might distract from the shell design. The chains provide the practical finishing detail while preserving the triangular shape of the bandana.
From Bandana to Larger Crochet Project
One of the most interesting aspects of this design is that the bandana does not represent a completely separate construction from a larger shawl. The project is worked from the bottom-up, so the same concept can continue growing.
If you enjoy the Beautiful Shells stitch, you can keep repeating the construction and create a much larger piece. The original source specifically points out that continuing the stitch can lead to a whole shawl.
This makes the bandana a useful practice sample. You can learn the technique at a small scale, discover whether you enjoy the stitch, and then decide whether you want to apply it to a larger project.
Beginner Tips for Better Results
Count before moving on
Do not rely entirely on the visual appearance of the fabric. Check the stitch counts in the important early rows, especially the 9dc total in Row 1 and the 9dc shell groups in Row 3.
Find the V stitches first
Before starting a shell row, locate the V stitches. Once you know where the V stitches are, the placement of the shells becomes much more straightforward.
Respect the chain spaces
The chain-5 spaces are part of the framework. They are intentionally open and should not be treated as mistakes simply because they look loose compared with the shells.
Practice the color change slowly
The live-loop technique is more unusual than the basic stitches in the pattern. Work through it carefully until you can distinguish the active and inactive loops without hesitation.
Measure the long side
The original target is 18 inches (46cm) along the long side. Checking this measurement as you progress gives you a practical way to compare your work with the original.
Frequently Asked Questions
What size crochet hook does the original pattern use?
The original pattern uses a 3.5mm crochet hook.
How much yarn is needed?
Less than 50 yards of each of two colors of DK weight cotton yarn are used in the original project.
What are the two original yarns?
The original green yarn is Paintbox Yarns Cotton DK, and the peach color is Baby Cotton from Ice Yarns.
What is the finished size?
The original bandana measures 18 inches (46cm) along the long side.
How many rows does the original bandana have?
The original version reaches the stated 18-inch (46cm) long-side measurement in 25 rows.
Does the yarn have to be cut after each row?
No. The pattern includes a special color-changing technique that keeps the yarn connected. It is designed to let you work in the same direction every two rows without cutting the yarn.
Can the stitch be used for a shawl?
Yes. Because the bandana grows from the bottom-up, the pattern can be continued. The source notes that continuing the stitch can produce a whole shawl.
Why does the framework row look different from the shell row?
They have different structural purposes. The framework creates V stitches and chain spaces, while the shell row fills the V stitches with groups of double crochet stitches. The contrast is intentional.
Original Pattern Quick Reference
- Begin: Color A, ch6 and join with a slip stitch.
- Row 1: ch3, then 8dc into the center of the ch6 ring; 9dc total.
- Row 2: Color B, create the V-stitch framework with ch5 between the initial V stitches.
- Color transition: Work through the live Color B and Color A loops as specified, using ch3 and then another ch3 while carrying Color B up the chain.
- Row 3: Color A, 9dc in the first V stitch, 1sc on top of the previous ch5 area as specified, then 9dc in the next V stitch.
- Row 4: Color B, create the next framework and work a V stitch into the previous row’s single crochet.
- Repeat: Continue shell rows and V-stitch scaffold rows.
- Original size: 18 inches (46cm) along the long side.
- Original row count: 25 rows.
- Finishing: Make chains a few inches long from the available working yarn on either end for ties.
Final Thoughts on the Beautiful Shells Technique
The Beautiful Shells Bandana is a good example of how a small crochet project can teach a much larger idea. The finished fabric looks intricate, but its construction is based on a clear sequence: create a framework, build shells into that framework, create another framework, and repeat.
The V stitches are the key landmarks. Once you can recognize them, you can understand where the large shell groups belong. The chain-5 spaces also become easier to read because they are part of a deliberate scaffold rather than random open gaps.
The two-color construction adds an appealing visual layer while teaching an unusual color-change technique. Keeping the yarn connected means you can alternate colors every row without repeatedly fastening off. The transition may take practice, but it is one of the defining features of the project.
For the original version, keep the technical reference points in mind: two colors of DK weight cotton yarn, less than 50 yards of each color, a 3.5mm crochet hook, an 18-inch (46cm) long-side measurement, and 25 rows in the original sample. The project begins with a chain-6 ring, develops through V-stitch framework rows and 9dc shell groups, and ends with simple chain ties.
Most importantly, allow the stitch to reveal itself gradually. The first framework row may not look impressive, but the following shell row changes the fabric immediately. After several repeats, the relationship between the scaffold and the shells becomes intuitive, and the project settles into a satisfying rhythm.
Whether your goal is a lightweight handmade headband or simply a new crochet skill to add to your repertoire, this small bandana provides a practical introduction to a technique that can grow far beyond its original size.