
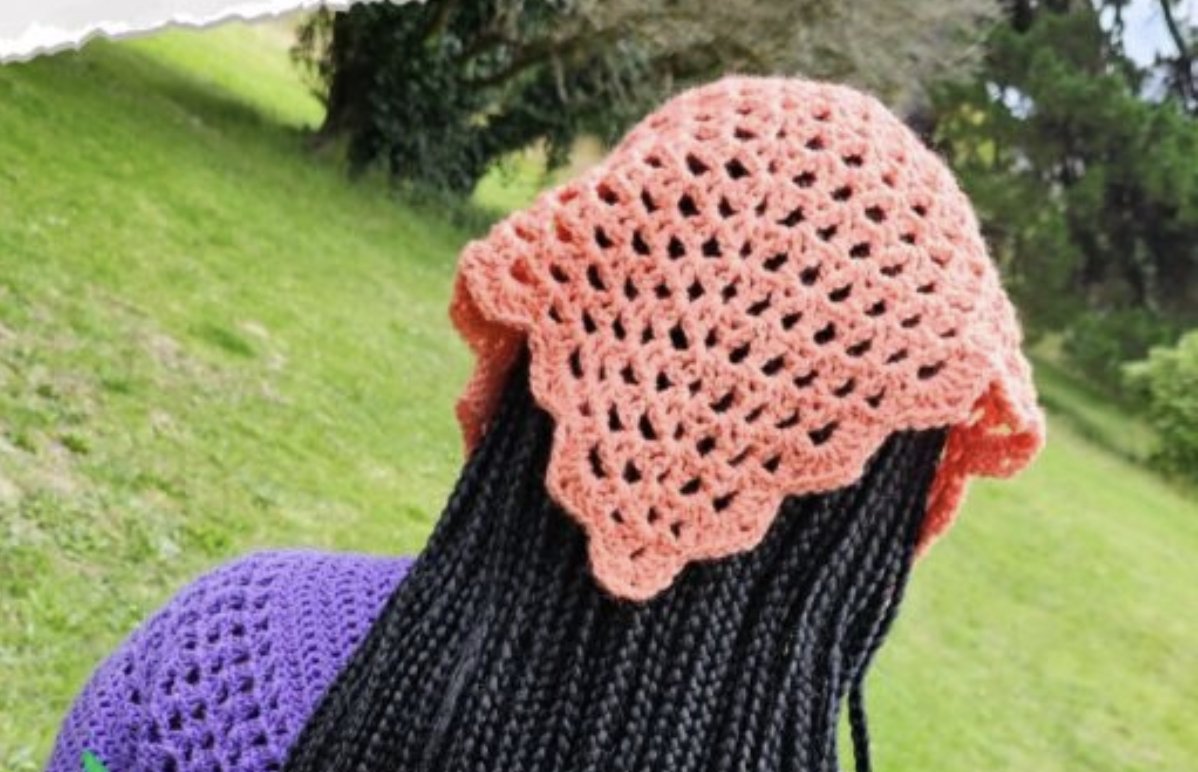
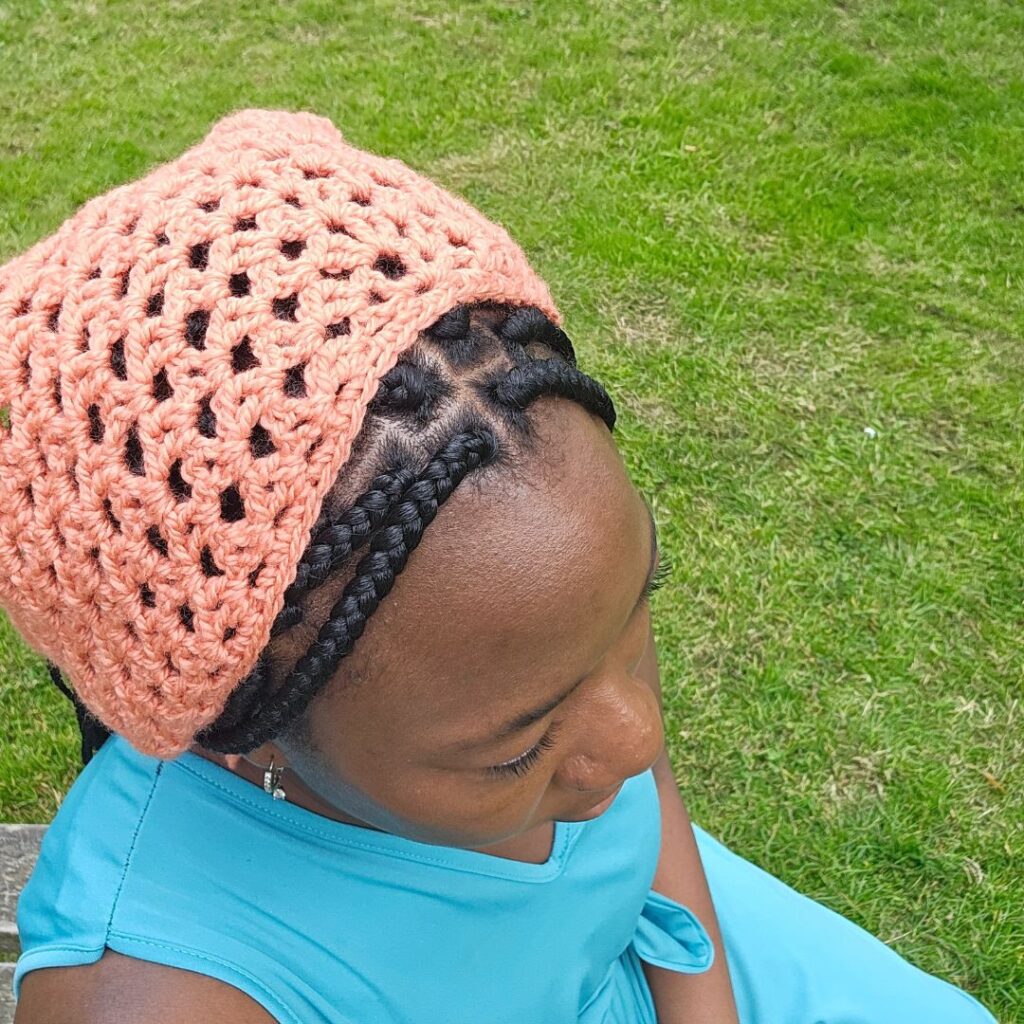
If you are looking for a crochet accessory that is simple enough to take along on a relaxing weekend project but distinctive enough to become a favorite part of your handmade wardrobe, this XoXo crochet bandana is a wonderful option. The finished piece has a relaxed boho-chic character, while the repeated V stitches create an open, decorative texture that gives the bandana plenty of visual interest.
This project comes from the Easy Crochet Bandana Pattern by Fosbas Designs. The original design is intended as an all-season accessory and uses basic crochet stitches together with the V stitch. It can be approached as a calming project for a road trip, an afternoon at home, or a weekend of crochet.
Rather than treating the pattern as a list of instructions to rush through, this guide focuses on stitch checkpoints. Those checkpoints are especially useful because the shape grows from the center, and keeping track of the V stitches, chain spaces, double crochets, and stitch marker makes the construction much easier to follow.
What Makes This Bandana Different?
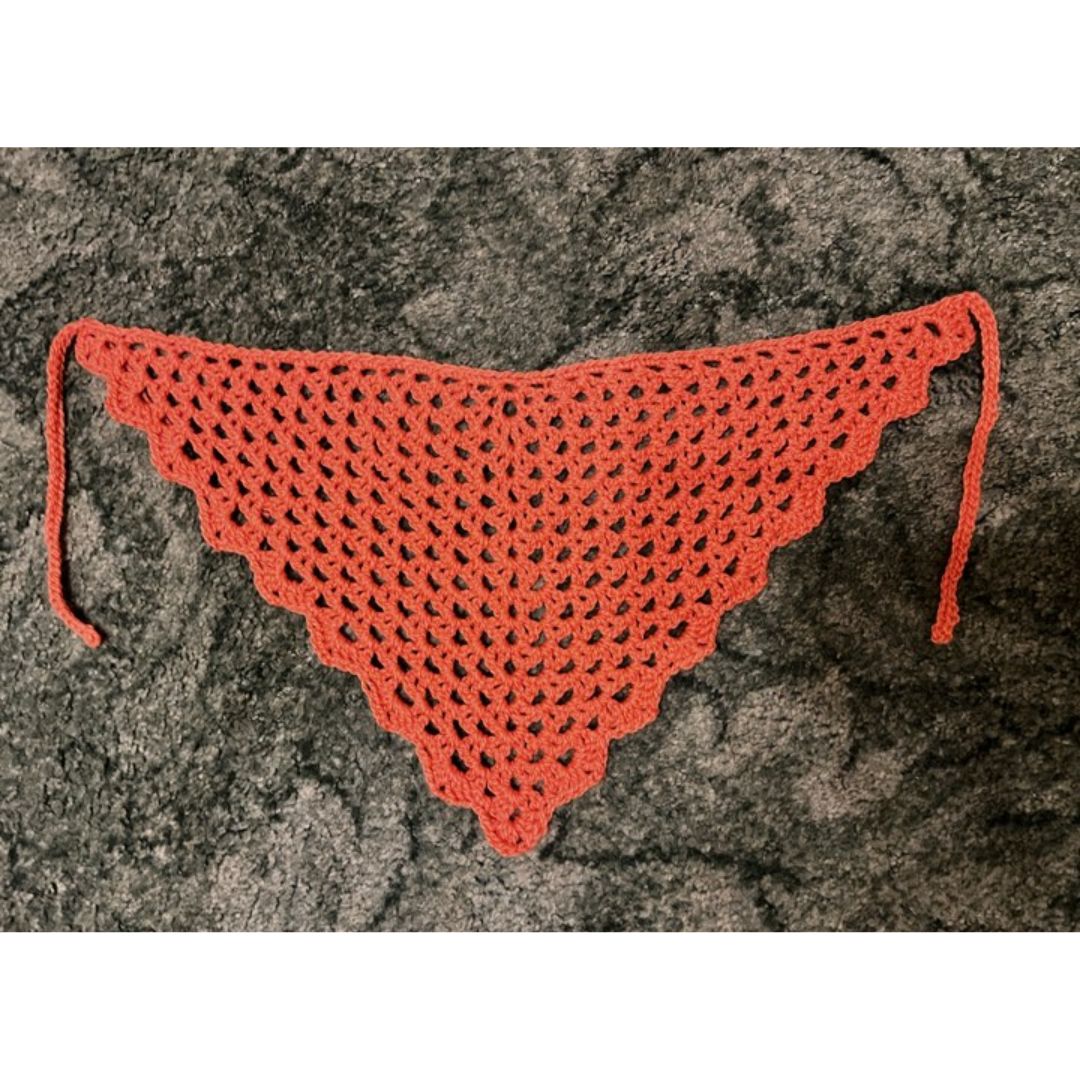
Many crochet bandanas are made with a traditional granny stitch approach. This design takes a different route by using V stitches as the main decorative element. A V stitch is made with a double crochet, chain 1, and another double crochet in the indicated stitch.
The result is an airy fabric with clearly visible spaces between the stitches. Those spaces are also helpful while following the pattern because later rows are worked into chain spaces rather than requiring you to work into every V stitch directly.
The construction is also straightforward once the central point is understood. The project begins with a small circle made from chain stitches, and the first rows establish the central shaping. After that, the bandana grows outward through repeated rows.
One useful feature of the original instructions is the stitch marker. The pattern specifically instructs you to place a stitch marker and move it after every row. This is worth taking seriously because the marker becomes an important visual reference as the bandana increases in size.
Project Details at a Glance
- Yarn: Stylecraft Aran, #4, 100% Acrylic.
- Yarn quantity: 382 yards per 7.1 oz/200g ball, with an estimated total usage of 70 yards.
- Hook: 5.5 mm Crochet Hook.
- Needle: Tapestry needle for weaving in ends.
- Gauge: 16 sts over 8 rows = 4’’ by 4” made in xhdc before blocking.
- Finished measurement instruction: Repeat rows 4–5 until the piece measures 18”.
- Skill level: Intermediate.
- Main decorative stitch: V stitch.
The source describes the project as suitable for advanced beginners in its introductory presentation, while the technical pattern section lists the skill level as Intermediate. Both descriptions are part of the original source information and are worth keeping in mind. A crocheter who is comfortable with basic stitches and reading repeated instructions should be able to work through the project carefully.
Before You Make the First Chain
There are two preparation habits that can make this project much smoother. First, read through the complete pattern before starting. Second, if you substitute the yarn, choose a similar #4 weight yarn and check the gauge.
Gauge is not described as crucial for this particular project, but it becomes more relevant when you are changing yarn or hook size. The source gives the gauge as 16 stitches over 8 rows equaling 4’’ by 4” made in xhdc before blocking.
It is also helpful to place your stitch marker and keep it nearby from the beginning. The pattern calls for moving the marker after every row. Making that a routine from the first row can prevent confusion later.
Abbreviations Used in the Pattern
- ch: Chain
- hdc: Half double crochet
- st: Stitch
- sl st: Slip Stitch
- dc: Double crochet
The V Stitch You Need to Recognize
The main special stitch is the V stitch. The source defines it as:
V stitch – dc, ch 1, dc in indicated stitch.
Once you recognize the shape of a V stitch, the later rows become much easier to read visually. You will see the two double crochet stitches with the chain space between them. That chain space becomes an important working location in subsequent rows.
One particularly important pattern note says: “Skip all v sts from here.” This appears after Row 2. In practical terms, this means that the later instructions are organized around the chain spaces rather than simply inserting stitches into the V stitches themselves. Follow the written instructions carefully instead of automatically working into every visible stitch.
Stage One: Establishing the Center
The bandana begins with a very small foundation rather than a long chain. The exact starting instruction is:
Chain 4, join to make a circle.
This small circle becomes the foundation for the first row. Take a moment to make sure the chain is joined neatly before moving forward. Since the next stitches are placed in the circle, a secure and clearly defined center will make the first row easier to understand.
Row 1: Your First Stitch Checkpoint
Row 1 begins with chain 4. The pattern explains that this chain 4 counts as a DC plus Ch 1 here and throughout.
The complete instruction is:
Ch 4, (counts as a DC + Ch 1 here and throughout), V st, ch 2, place stitch marker and move it after every row, V st, ch 1, dc, in the circle, turn.
After completing Row 1, the source gives this checkpoint:
2 V st, 2 dc, 3 ch sp.
This is your first opportunity to pause before continuing. Rather than immediately beginning Row 2, look at the work and compare the structure with the checkpoint. The stitch marker should also be in place and ready to be moved after every row as instructed.
Row 2: Building the Central Expansion
Row 2 introduces more V stitches and uses the central chain-2 space as an important shaping location.
The exact instruction is:
Ch 4, V st in the same stitch, ch 1, V st in next V st, ch 1, (V st, ch 2, V st) in next ch 2 sp, ch 1, V st in next V st, ch 1, V st in last st(3rd ch from ch 4 sp), ch 1, dc in same st, turn.
The checkpoint for this row is:
6 V sts, 2 dc, 7 ch sps.
This is an important row to check carefully because the center is becoming more pronounced. The chain-2 space is where the central group is placed, while the surrounding V stitches establish the expanding sides.
After this row, remember the pattern note: “Skip all v sts from here.” Keep that instruction visible while working the remaining rows.
Row 3: Learning the Repeating Rhythm
Row 3 starts to make the repeating structure easier to see. The instruction is:
Ch 4, V st in first ch sp, ch 1, *V st in next ch 1-sp, ch 1, rep from * one more time, (V st, ch 2, V st) in ch 2 sp, ch 1, rep from * to ** 2 more times, V st, ch 1, dc in last st.
The checkpoint is:
8 V st, 2 dc, 9 ch sps.
At this point, it is useful to stop thinking about the bandana as a collection of individual stitches and start seeing the repeated chain-space pattern. The central chain-2 space remains the key shaping point, while the chain-1 spaces organize the decorative V stitches across the rest of the row.
Rows 4 and 5: The Main Growth Pattern
Rows 4 and 5 form the repeated section that will continue until the bandana reaches the specified measurement. These rows are similar, but each one has its own exact checkpoint.
Row 4
The complete instruction is:
Ch 4, V st in first ch sp,, ch 1, *V st in next ch 1-sp, ch 1**, rep from * until next stitch marker, (V st, ch 2, V st) in ch 2 sp, ch 1, rep from * to ** until the last st, V st, ch 1, dc in last st.
The checkpoint is:
10 V st, 2 dc, 11 ch sp.
Row 5
The complete instruction is:
Ch 4, V st in first ch sp, ch 1, *V st in next ch 1-sp, ch 1**, rep from * until next stitch maker, (V st, ch 2, V st) in ch 2 sp, ch 1, rep from * to ** until the last st, V st, ch 1, dc in last st.
The checkpoint is:
12 V st, 2 dc, 13 ch sp.
A Simple Checkpoint System for Rows 4 and 5
The stitch counts supplied by the pattern provide a useful way to monitor progress. Row 4 has 10 V stitches, 2 double crochets, and 11 chain spaces. Row 5 has 12 V stitches, 2 double crochets, and 13 chain spaces.
These numbers should not be treated as a reason to alter the pattern. Instead, use them as checkpoints after completing the row. If something looks unusual, it is better to stop and review the current row before continuing into another repeat.
The stitch marker also provides a second visual checkpoint. Since the instructions repeatedly refer to the next stitch marker, keeping it in the correct position helps you identify where the repeated section ends and where the central shaping section begins.
How the Bandana Reaches Its Final Size
Continue repeating Rows 4–5 until the piece measures 18”. The measurement is the source’s specified stopping point for the main repeated section.
If you want a smaller version, the source gives a simple adjustment: stop at any point you would love. This allows the main body to be made smaller without inventing a new stitch sequence.
The source also notes that size can be adjusted by changing the hook size, yarn weight, or number of stitches or rows. If you change these elements, remember that the resulting fabric and dimensions may change, which is why checking gauge can be useful when substituting materials.
Reading the Center While You Crochet
One of the easiest ways to lose your place in a triangular crochet project is to stop recognizing the central point. The XoXo bandana gives you a strong visual reference in the form of the ch 2 space.
The repeated center instruction in Rows 3–5 is:
(V st, ch 2, V st) in ch 2 sp
That central section is surrounded by the V-stitch repeats on both sides. If you are checking your work visually, the central chain-2 space should remain easy to identify as the piece becomes larger.
For a beginner working slowly, it can help to complete one row at a time rather than trying to memorize the entire repeat. The pattern itself provides enough structure that there is no need to rush.
Photo Check: Look for the Shape, Not Just the Stitches
Photographs can be especially useful with crochet accessories because they show how the fabric behaves as a whole. The goal is not to make every loop look identical to a photograph at every moment, but to use the visual reference alongside the written pattern.
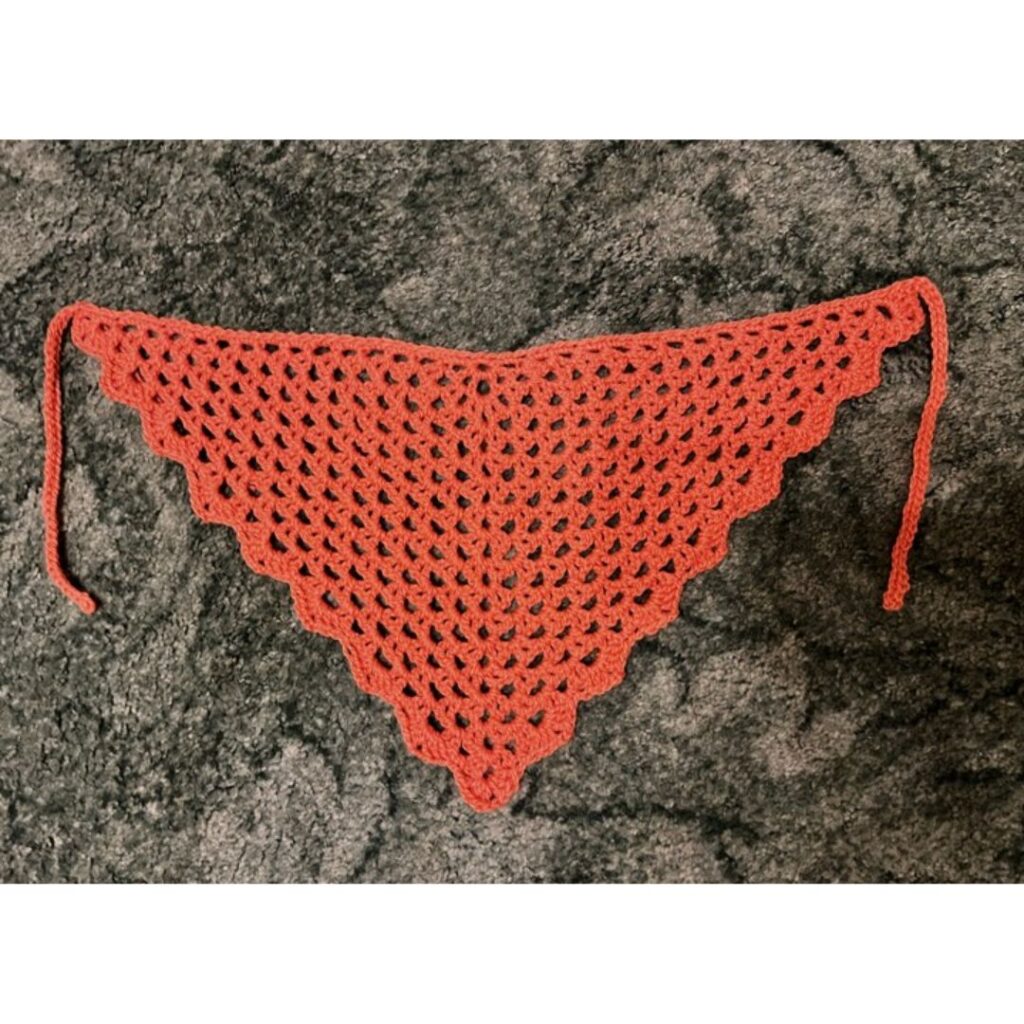
As the rows accumulate, look for the triangular silhouette, the central point, the open chain spaces, and the repeated V-stitch texture. These broad visual features can help you understand where you are in the construction without replacing the exact written instructions.
Preparing for the Last Row
Once the main body has reached 18”, it is time to work the last row supplied by the source. This row changes the visual character of the edge and prepares the bandana for its ties.
The exact instruction is:
ch 3, 2 dc, ch 2, 3 dc in next ch 1 sp, *sc in next ch 1 sp, 3 dc, ch 2, 3 dc in next ch sp, rep from * across
Do not fasten off.
The instruction not to fasten off is important because the construction continues immediately into the tie and edging work.
Creating the First Tie
After the last row, chain 39. Then work a slip stitch in the second chain from the hook and in each chain across.
The source specifically allows the number of chains to be increased or decreased for a desirable rope for tying. This is one of the few places where the pattern explicitly invites you to customize the result according to your preference.
Work slowly along the chain so that the tie remains neat and comfortable to handle. There is no need to rush the slip stitches, especially if you want a clean-looking rope.
Working Across the Edge
After completing the first tie, crochet across the edge by working single crochet evenly across to the other edge.
The word “evenly” is important as a finishing direction. The purpose is to move cleanly across the edge while maintaining a tidy appearance. If your stitches naturally vary slightly in tension, concentrate on keeping the edge visually smooth rather than forcing your crochet hook into an uncomfortable rhythm.
Adding the Second Tie
At the other edge, chain 39 again. Work a slip stitch in the second chain from the hook and in each chain across.
The two ties create the practical finishing element that allows the bandana to be secured. As with the first tie, the source permits increasing or decreasing the number of chains to create the desirable rope length.
When the second tie is complete, fasten off.
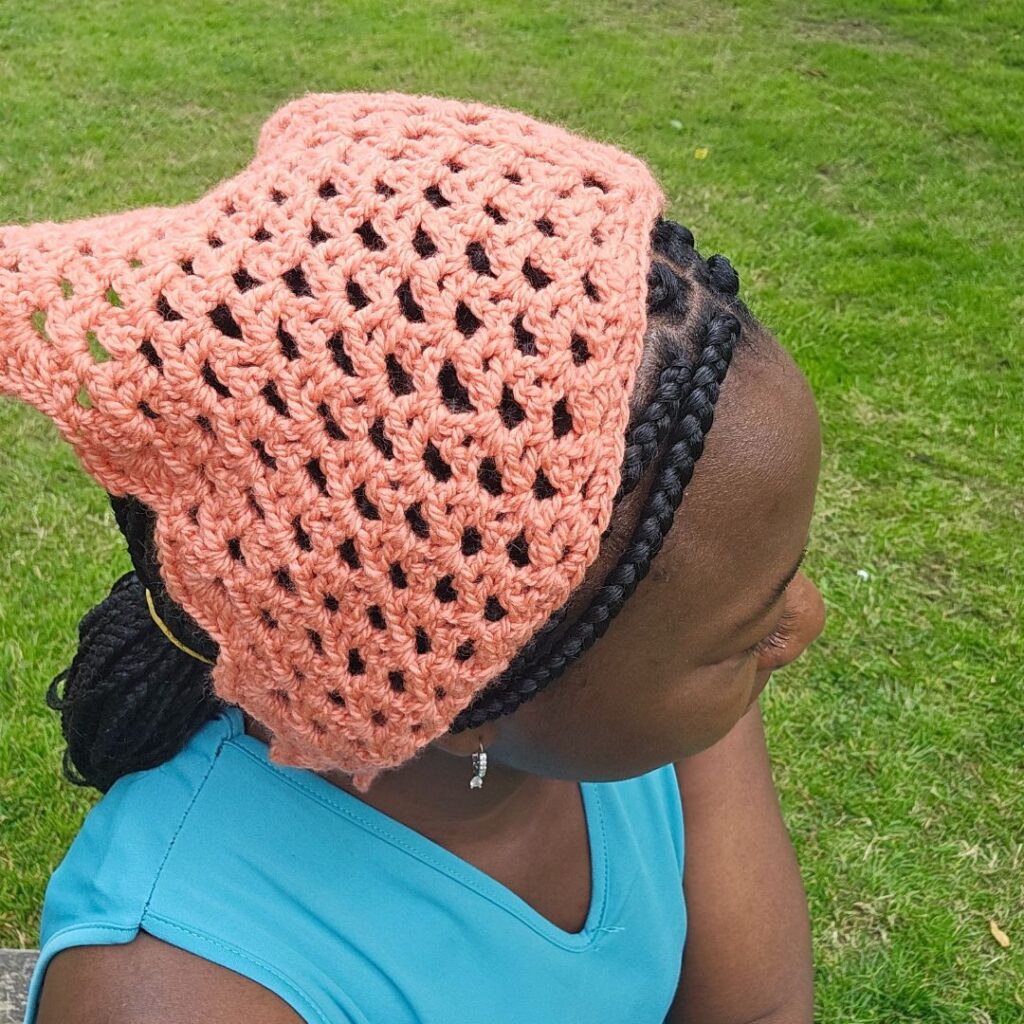
Finishing: Weave In Every End
The final instruction is simple: sew in all ends. Use the tapestry needle listed in the supplies to secure the loose yarn tails.
Finishing is worth doing carefully because the bandana is an accessory that will be handled and tied repeatedly. A neat finish helps keep the completed project tidy and prevents loose ends from becoming distracting during use.
Do not skip this stage just because the main crochet work is complete. The last few minutes spent securing the ends are part of creating a finished handmade accessory.
Choosing Yarn for the Bandana
The specified yarn is Stylecraft Aran, #4, 100% Acrylic, with 382 yards per 7.1 oz/200g ball. The estimated total yardage for this project is 70 yards.
The source also allows a similar #4 weight yarn to be substituted, with a recommendation to check gauge. This makes the pattern flexible while keeping the original technical specifications clear.
The FAQ also recommends cotton for a breathable, lightweight summer version. Acrylic can work well for a cozy autumn breeze. These are yarn-choice suggestions from the source and do not replace the specified yarn information.
Common Crochet Checkpoints
Checkpoint 1: The Center
Confirm that the starting chain has been joined to make a circle before beginning Row 1.
Checkpoint 2: Row 1
Look for 2 V stitches, 2 double crochets, and 3 chain spaces.
Checkpoint 3: Row 2
Look for 6 V stitches, 2 double crochets, and 7 chain spaces.
Checkpoint 4: Row 3
Look for 8 V stitches, 2 double crochets, and 9 chain spaces.
Checkpoint 5: Row 4
Look for 10 V stitches, 2 double crochets, and 11 chain spaces.
Checkpoint 6: Row 5
Look for 12 V stitches, 2 double crochets, and 13 chain spaces.
Checkpoint 7: Main Body
Continue the exact Rows 4–5 repeat until the piece measures 18”, or stop earlier for a smaller version as described by the source.
Troubleshooting Without Changing the Pattern
If the project does not look right, resist the temptation to immediately change the stitch sequence. First return to the written instruction for the row where the problem appeared.
Check whether the stitch marker was moved after the previous row. Then compare the completed row with its stitch checkpoint. Next, locate the central ch 2 space and make sure the shaping section is still easy to identify.
If your yarn tension has changed, pause and relax your hands before continuing. Tight or loose tension can make chain spaces look different even when the correct stitches have been made.
If you substituted yarn and the result is significantly different from what you expected, review the gauge information. The source specifically suggests checking gauge when using a similar #4 weight substitute.
For a size adjustment, the source notes that you can adjust hook size, yarn weight, or the number of stitches or rows. The safest approach is to make changes intentionally rather than modifying individual stitches in the middle of the written pattern.
Frequently Asked Questions
How long does the crochet bandana take?
The source describes it as a relatively quick project that can take a few hours. It is presented as suitable for a weekend or a road trip project.
Can finished bandanas made from this pattern be sold?
Yes. The source says finished items made from the pattern can be sold. It also encourages sharing the finished work on social media and tagging on TikTok or Facebook.
Can the bandana size be changed?
Yes. The source says the size can be adjusted by changing the hook size, yarn weight, or number of stitches or rows. It also specifically says that for a smaller version, you can stop at any point you would love.
What if I have trouble following the pattern?
The source recommends joining the Facebook group for additional support and tips. When working independently, the stitch checkpoints in this guide can also help you identify where you are in the written sequence.
What special techniques are mentioned in the source FAQ?
The source FAQ mentions magic ring, V stitches, and shell stitch as special techniques. However, the written pattern supplied by the source begins with chain 4 joined to make a circle, and the main written instructions use the V stitch. Follow the written pattern itself for the actual construction rather than replacing its beginning with another technique.
What yarn is recommended?
The specified yarn is Stylecraft Aran, #4, 100% Acrylic. The source also recommends cotton for a breathable and lightweight summer version and acrylic for a cozy autumn breeze.
What should I do if my gauge is different?
The source suggests trying a smaller or larger hook to adjust size and tension. Because gauge is not crucial to this particular project, the main goal is to achieve a fabric and size you are happy with while remaining consistent throughout the work.
How do I finish the loose ends?
Use the tapestry needle to sew in all ends securely after fastening off. The source specifically lists a tapestry needle among the required supplies.
A Practical Work Session Checklist
- Before starting: Read the complete pattern.
- Materials: Prepare Stylecraft Aran, #4, 100% Acrylic, a 5.5 mm crochet hook, and a tapestry needle.
- Beginning: Chain 4 and join to make a circle.
- Row 1: Confirm 2 V stitches, 2 double crochets, and 3 chain spaces.
- Row 2: Confirm 6 V stitches, 2 double crochets, and 7 chain spaces.
- Row 3: Confirm 8 V stitches, 2 double crochets, and 9 chain spaces.
- Row 4: Confirm 10 V stitches, 2 double crochets, and 11 chain spaces.
- Row 5: Confirm 12 V stitches, 2 double crochets, and 13 chain spaces.
- Repeat: Continue Rows 4–5 until the piece measures 18”.
- Smaller version: Stop at any point you would love.
- Last row: Work the specified edging and do not fasten off.
- First tie: Chain 39 and slip stitch back across.
- Edge: Single crochet evenly across to the other edge.
- Second tie: Chain 39 and slip stitch back across.
- Finish: Fasten off and sew in all ends.
Final Thoughts on the XoXo Bandana
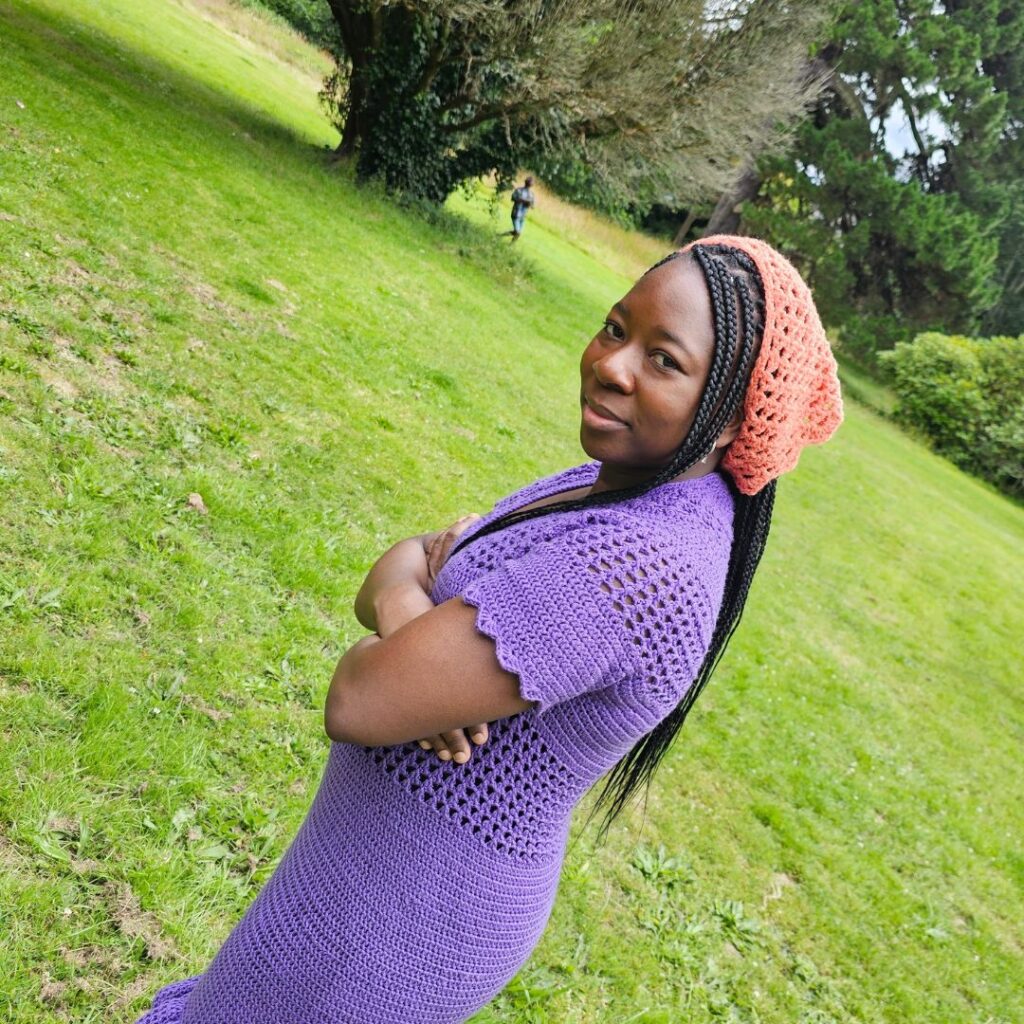
The appeal of this crochet bandana is that the construction is repetitive without being visually boring. The V stitches create an open texture, while the central shaping gives the project its recognizable triangular form. Once the first few rows are established, the repeated Rows 4–5 section provides a steady rhythm that makes the project suitable for relaxed crochet sessions.
The most important habit for success is to use the supplied checkpoints rather than guessing your way through the rows. The pattern gives clear numbers for the V stitches, double crochets, and chain spaces through the early construction, giving you useful moments to stop and inspect your work.
Keep the stitch marker moving after every row, pay particular attention to the central ch 2 space, and follow the written instructions exactly. When the body reaches 18”, move into the last-row edging and tie construction without fastening off prematurely.
For a smaller version, the source allows you to stop at a point you prefer. For yarn substitutions, a similar #4 weight yarn can be used with attention to gauge. Cotton can provide a breathable summer feel, while acrylic remains a suitable option for a cozy autumn accessory.
Finally, take time with the finishing work. The two chain-39 ties, the evenly crocheted edge, and the securely woven ends turn the growing fabric into a practical accessory that is ready to wear. With its relaxed boho-chic character and straightforward V-stitch construction, this XoXo crochet bandana makes a satisfying handmade project for an afternoon, weekend, or road-trip crochet session.