
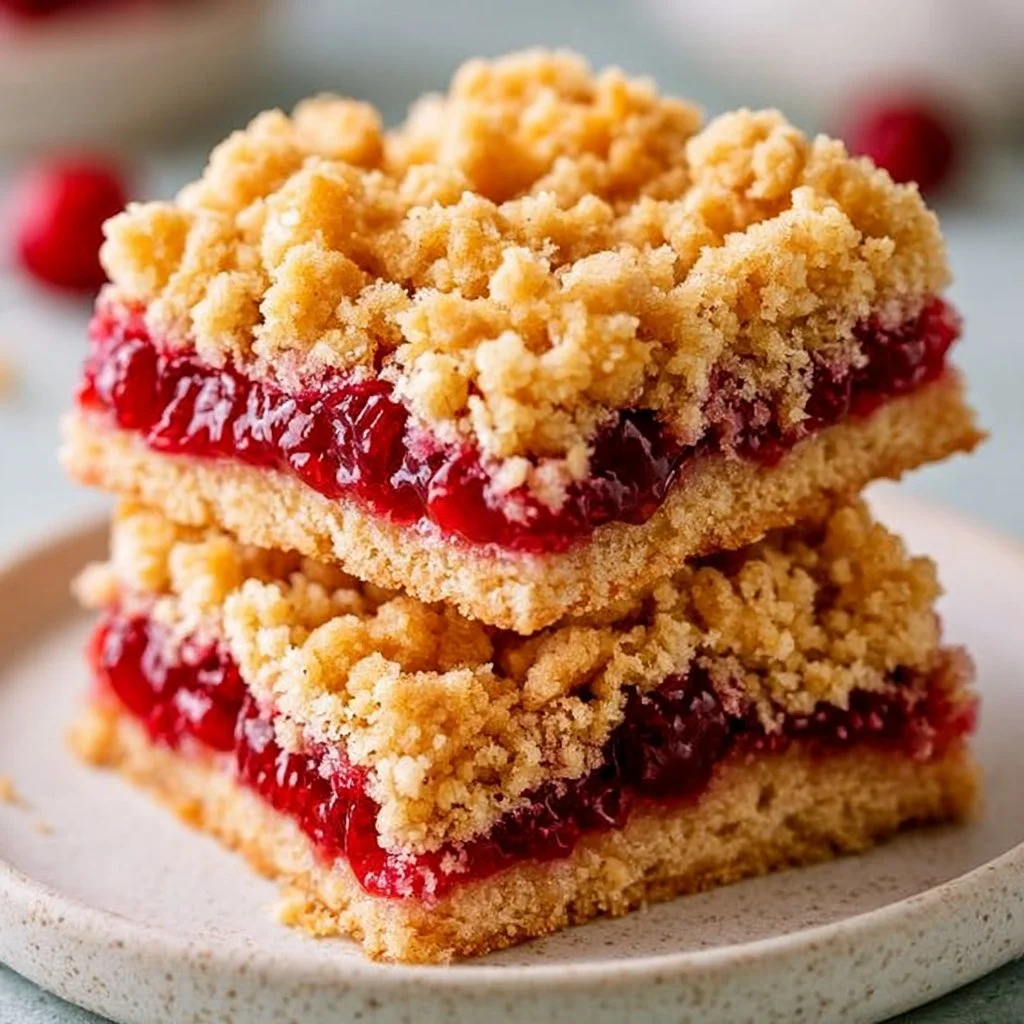
Cherry Crumble Bars
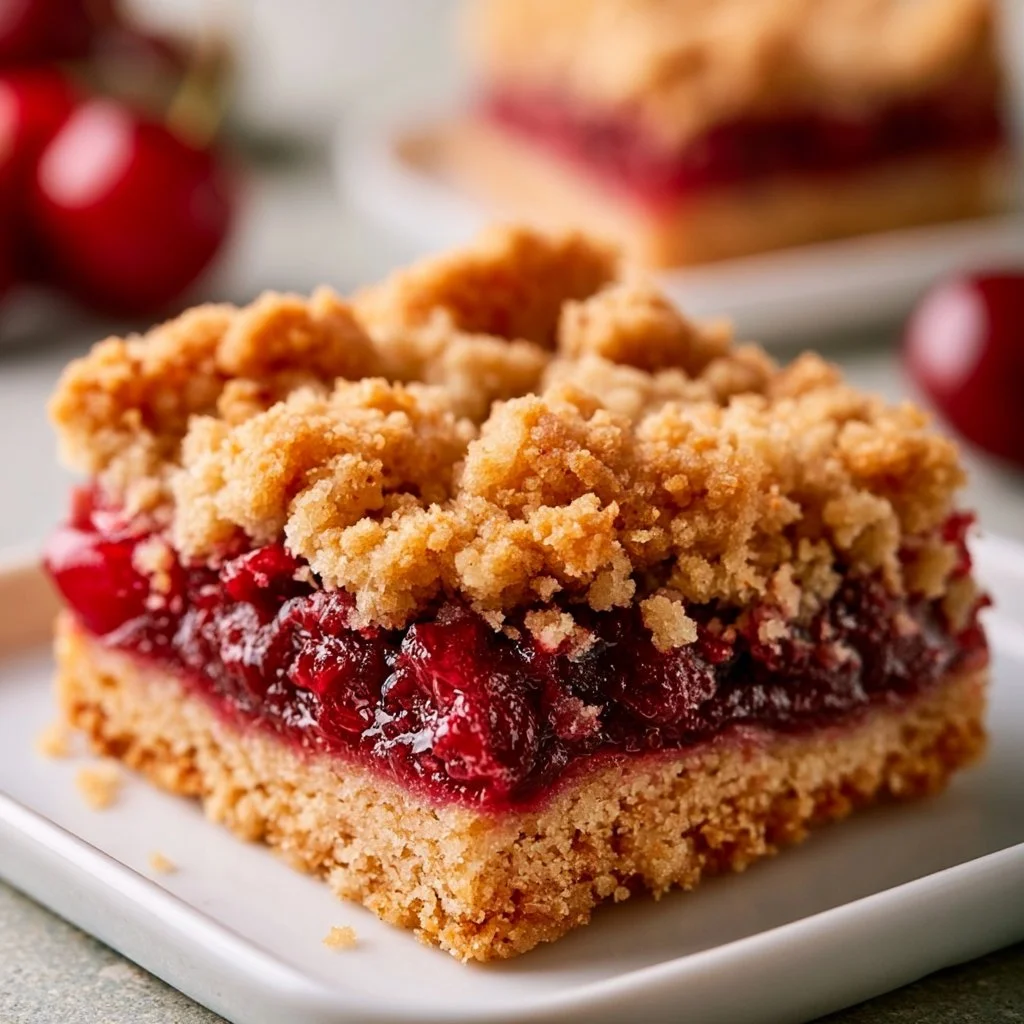
Cherry Crumble Bars are a delightful treat that perfectly combines tart cherries with a sweet and crumbly topping. With their tender, buttery crust and chewy texture, these bars are not only satisfying but also incredibly inviting. Imagine biting into these scrumptious bars, where the brightness of cherries meets a comforting crumbly layer—it’s simply irresistible!
These bars make for a fantastic dessert or snack at any gathering. They’re easy to cut into portions, making them ideal for picnics, potlucks, and even family breakfasts. Whether served warm with a scoop of vanilla ice cream or enjoyed at room temperature, Cherry Crumble Bars are sure to please both kids and adults alike!
Nutrition & Recipe Details
| Item | Value |
|---|---|
| Prep time | 15 minutes |
| Cook time | 30-35 minutes |
| Store time | 3-5 days |
| Calories | 200 per bar |
| Protein | 2g |
| Carbohydrates | 30g |
| Fat | 10g |
How to make Cherry Crumble Bars
Ingredients
| Ingredient | Quantity |
|---|---|
| All-purpose flour | 1 cup |
| Granulated sugar | 1/2 cup |
| Unsalted butter, softened | 1/2 cup |
| Baking powder | 1/2 teaspoon |
| Cherries, pitted and halved | 1 cup |
| Vanilla extract | 1 teaspoon |
| Salt | 1/4 teaspoon |
| Oats | 1/2 cup |
| Brown sugar | 1/4 cup |
Step-by-Step Instructions
- Preheat your oven to 350°F (175°C). Grease a 9×9-inch baking pan.
- In a medium bowl, mix together flour, sugar, baking powder, and salt.
- Cut in the butter until the mixture resembles coarse crumbs.
- Press half of the mixture into the bottom of the prepared pan to form the crust.
- In a separate bowl, toss the cherries with vanilla extract and place them evenly over the crust.
- Sprinkle the remaining crumb mixture over the cherries, followed by the oats and brown sugar.
- Bake for 30-35 minutes or until the top is golden brown.
- Let cool before cutting into bars. Enjoy!
Pro Tips
| Tip | Description |
|---|---|
| Use Frozen Cherries | If fresh cherries aren’t available, frozen cherries work just as well. Just make sure to thaw and drain them before using. |
| Chill the Dough | For a firmer texture, chill the crumb mixture for about 30 minutes before pressing it into the pan. |
| Check for Doneness | Every oven is different. Keep an eye on the bars in the last few minutes to achieve the perfect golden brown top. |
Why You’ll Love This Recipe
Cherry Crumble Bars are not only delicious but also incredibly simple to make. With just a handful of ingredients, you can create something extraordinary in no time! The balance between the tart cherries and the sweet crumble makes for a comforting dessert that feels just right for any occasion.
These bars can easily fit into various dietary choices. With the option to swap out regular flour for a gluten-free version or use less sugar for a reduced calorie version, they cater to diverse tastes while remaining approachable. Plus, they store well, making them a great option for meal prep or last-minute desserts!
How to serve Cherry Crumble Bars
Presentation is key when serving these bars. For a simple yet elegant touch, dust the bars with powdered sugar before serving. Plating them on a colorful dish can also enhance the visual appeal. Pair these bars with a dollop of whipped cream or a scoop of vanilla ice cream, both of which can highlight the cherry flavor beautifully.
For side dishes, consider serving with fresh fruit or yogurt for a light touch. As for drinks, a cup of herbal tea or a glass of refreshing lemonade can balance the sweetness of the bars. Enjoying these with your choice of beverage transforms a snack into an experience!
How to store Cherry Crumble Bars
To store your Cherry Crumble Bars, keep them in an airtight container at room temperature for up to 3 days. If you want them to last longer, they can be stored in the refrigerator for up to a week. The cold will actually enhance the flavors over time.
For longer storage, feel free to freeze these bars. Just wrap them tightly in plastic wrap and place them in a freezer-safe container. They’ll keep well for about 2-3 months. When you’re ready to enjoy them, let them thaw in the refrigerator overnight.
Tips to make Cherry Crumble Bars
To elevate your Cherry Crumble Bars, consider adding spices such as cinnamon or nutmeg to the crumb mixture. This can enhance the flavor and give it a warm, inviting aroma. Also, make sure not to overmix the butter and flour—this can lead to a denser texture rather than a crumbly top.
Timing is also crucial. If you find the bars are browning too quickly, cover them loosely with aluminum foil towards the end of the baking time. This will prevent the top from burning while allowing the center to cook through.
Variation
- Vegan Option: Substitute the butter with coconut oil or vegan butter and use a flax egg (1 tablespoon ground flaxseed mixed with 2.5 tablespoons water) in place of the eggs.
- Gluten-Free: Use a gluten-free flour blend as a direct substitute for all-purpose flour to make these bars suitable for gluten-free diets.
- Mixed Fruit: Swap out the cherries for other fruits like blueberries, raspberries, or apples to create various flavors.
Storage and Reheating
To reheat leftovers, you can use the microwave for quick warming. Place a bar on a microwave-safe plate and heat for about 10-15 seconds. Alternatively, for a crispier top, you can reheat in the oven. Set the oven to 350°F (175°C) and warm the bars for about 5-10 minutes until heated through.
If you’ve frozen your Cherry Crumble Bars, thaw them in the refrigerator overnight before reheating. This ensures the texture stays nice and crumbly when warmed.
Customization Ideas
Feel free to experiment with different toppings! Adding chocolate chips or nuts to the crumb mixture can add delightful texture. You could also drizzle some melted chocolate or caramel sauce on top before serving for an extra indulgent treat.
For a touch of zest, consider adding some lemon or lime juice to the cherry mixture, giving it a refreshing tang that pairs beautifully with the sweetness.
Common Mistakes to Avoid
- Overmixing the Dough: This can lead to tough bars. Mix just until combined to keep a light and crumbly texture.
- Not Greasing the Pan: Skipping this step may result in bars sticking to the pan. Always grease it well to ensure easy removal.
- Skipping Cooling Time: Letting the bars cool allows them to set properly, which makes cutting them easier.
- Using Soggy Fruit: Make sure cherries are well-drained if using frozen ones to prevent a watery filling.
- Not Tasting the Cherries: Always taste your cherries before baking. If they’re too tart, consider adding extra sugar.
Serving Occasions
Cherry Crumble Bars are perfect for many occasions! They’re great for family dinners, holiday gatherings, or even as a sweet snack during a movie night. Their ease of preparation also makes them an excellent choice for last-minute treats when guests are coming over.
You can also bring them as a contribution to potlucks, school bake sales, or picnics in the park. Their delightful sweetness and beautiful presentation will make them a hit no matter where they are served!
Why make this recipe
What makes Cherry Crumble Bars special is their irresistible combination of flavors and textures. Unlike other desserts that may be overly rich, these bars strike the right balance and offer a lighter but still indulgent treat. They are easily customizable and can accommodate various dietary preferences, making them accessible to just about everyone.
Additionally, the simplicity of the recipe allows for quick preparation, so you can whip them up even on busy days. This ensures you always have a delectable dessert at your fingertips, perfect for sharing or enjoying all to yourself!
FAQs
-
Can I use other fruits?
Yes! These bars can be made with other fruits like blueberries, peaches, or apples. Just adjust the sugar based on the sweetness of the fruit. -
Can I prepare the mixture ahead of time?
Absolutely! You can mix the dry ingredients and even prepare the cherry filling in advance for easier baking later. -
How do I know when they’re done baking?
The bars are done when the top is golden brown and the mixture is bubbly around the edges. A toothpick inserted into the center should come out clean or with just a few crumbs. -
Can I make these bars gluten-free?
Yes! Just replace the all-purpose flour with a gluten-free flour blend, and you’re all set. -
How can I make these bars more indulgent?
You can create a topping of chocolate drizzle or add chocolate chips to the crumb mixture for a richer taste!
Disclaimer
Nutrition values are approximate and can vary based on ingredient brands and portion sizes. Always check your ingredients and adjust as needed for dietary preferences.
Print
Cherry Crumble Bars
- Total Time: 50 minutes
- Yield: 9 servings
- Diet: Vegetarian
Description
Delightful Cherry Crumble Bars that combine tart cherries with a sweet and crumbly topping, perfect for dessert or snacks.
Ingredients
- 1 cup All-purpose flour
- 1/2 cup Granulated sugar
- 1/2 cup Unsalted butter, softened
- 1/2 teaspoon Baking powder
- 1 cup Cherries, pitted and halved
- 1 teaspoon Vanilla extract
- 1/4 teaspoon Salt
- 1/2 cup Oats
- 1/4 cup Brown sugar
Instructions
- Preheat your oven to 350°F (175°C). Grease a 9×9-inch baking pan.
- In a medium bowl, mix together flour, sugar, baking powder, and salt.
- Cut in the butter until the mixture resembles coarse crumbs.
- Press half of the mixture into the bottom of the prepared pan to form the crust.
- In a separate bowl, toss the cherries with vanilla extract and place them evenly over the crust.
- Sprinkle the remaining crumb mixture over the cherries, followed by the oats and brown sugar.
- Bake for 30-35 minutes or until the top is golden brown.
- Let cool before cutting into bars. Enjoy!
Notes
Use frozen cherries if fresh cherries aren’t available. Chill the dough for a firmer texture.
- Prep Time: 15 minutes
- Cook Time: 35 minutes
- Category: Dessert
- Method: Baking
- Cuisine: American