
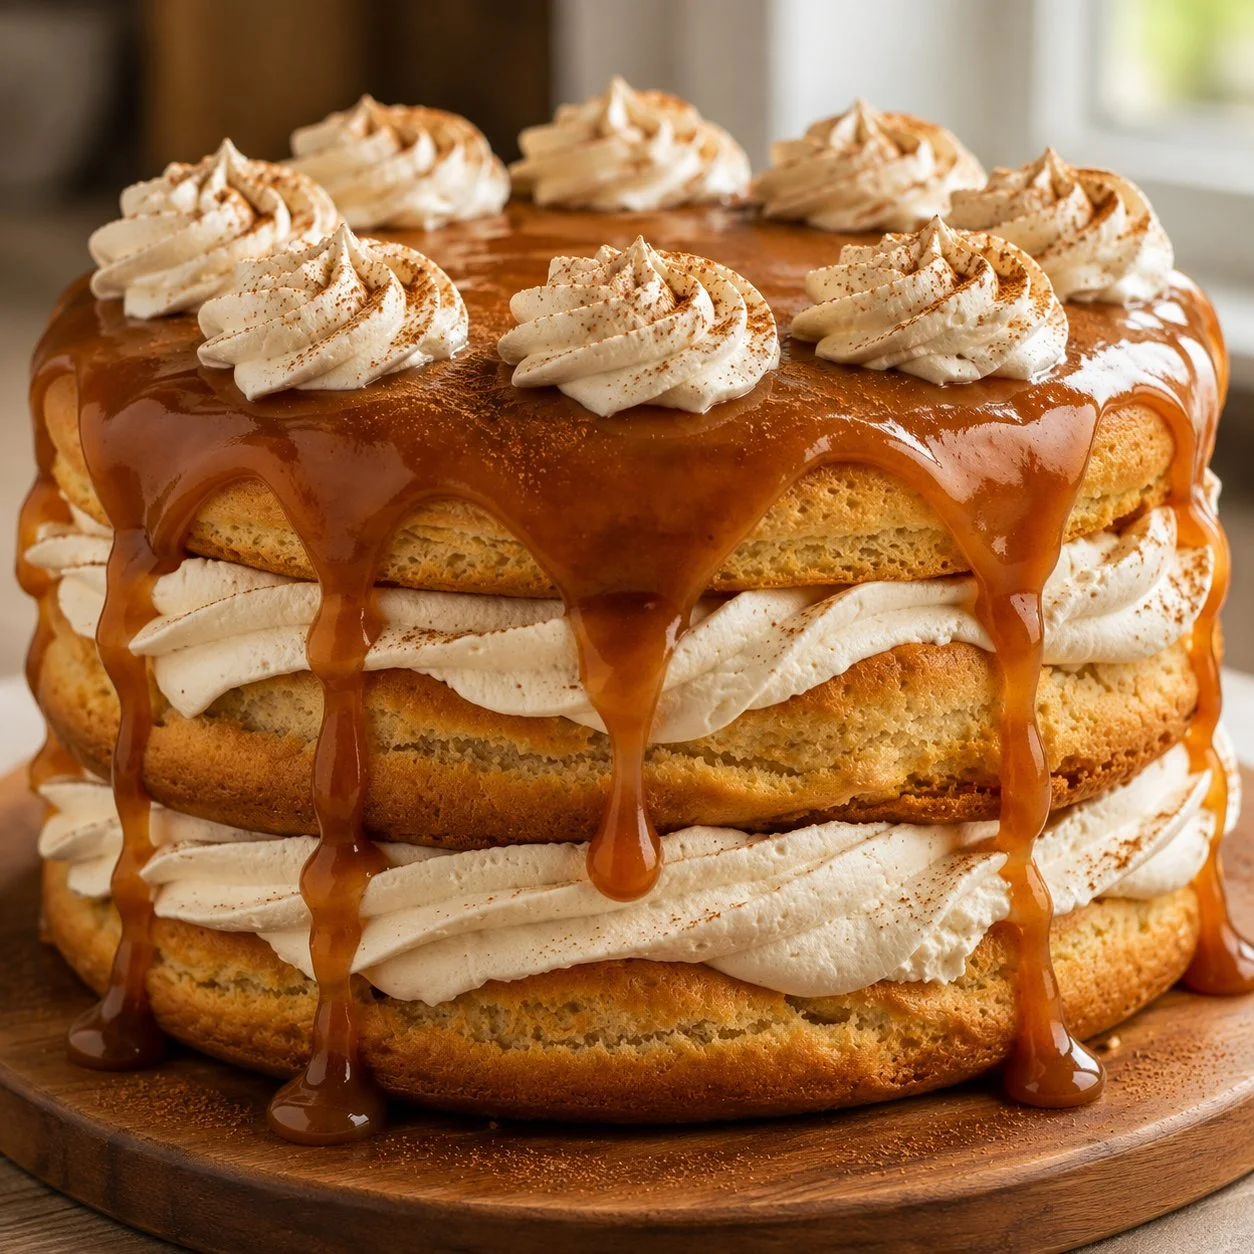
Apple Butter Layer Cake
The Apple Butter Layer Cake is a delightful dessert that brings the warm, comforting flavors of autumn into every bite. With its soft, moist layers and a delicious apple butter filling, this cake is a perfect blend of sweetness and spice. The rich cinnamon glaze adds a touch of elegance, making it ideal for special occasions or cozy family gatherings. You’ll find it elevates any dessert table, whether you’re celebrating a birthday, hosting Thanksgiving dinner, or simply enjoying a Sunday afternoon treat with a warm cup of tea.
What makes this cake truly special is its unique use of apple butter, which not only contributes flavor but also keeps the cake wonderfully moist. The texture is light and airy, yet satisfying enough to leave you feeling content. Each layer is a surprise, packed with apple warmth and a hint of cinnamon that dances on your palate. It’s a cake that brings people together, inviting tales of shared memories and family traditions, all while creating new ones.
Nutrition & Recipe Details
| Item | Value |
|---|---|
| Prep time | 30 minutes |
| Cook time | 30 minutes |
| Store time | 5 days |
| Calories | 350 per slice |
| Protein | 3g |
| Carbohydrates | 50g |
| Fat | 15g |
How to make Apple Butter Layer Cake
Ingredients
| Ingredient | Quantity |
|---|---|
| All-purpose flour | 2 cups |
| Sugar | 1 cup |
| Unsalted butter, softened | 1 cup |
| Large eggs | 4 |
| Apple butter | 1 cup |
| Baking powder | 1 teaspoon |
| Baking soda | 1/2 teaspoon |
| Cinnamon | 1 teaspoon |
| Salt | 1/2 teaspoon |
| Heavy cream | 1 cup |
| Powdered sugar | 1 cup |
Step-by-Step Instructions
- Preheat your oven to 350°F (175°C). Grease and flour three 8-inch round cake pans.
- In a mixing bowl, cream together the butter and sugar until light and fluffy.
- Add the eggs one at a time, mixing well after each addition. Stir in the apple butter.
- In another bowl, whisk together the flour, baking powder, baking soda, cinnamon, and salt.
- Gradually add the dry ingredients to the wet mixture, mixing until just combined.
- Divide the batter evenly among the prepared cake pans.
- Bake for 25-30 minutes or until a toothpick inserted in the center comes out clean. Allow to cool in the pans for 10 minutes, then remove from pans to cool completely.
- For the glaze, whip the heavy cream until soft peaks form, then gradually add the powdered sugar until smooth.
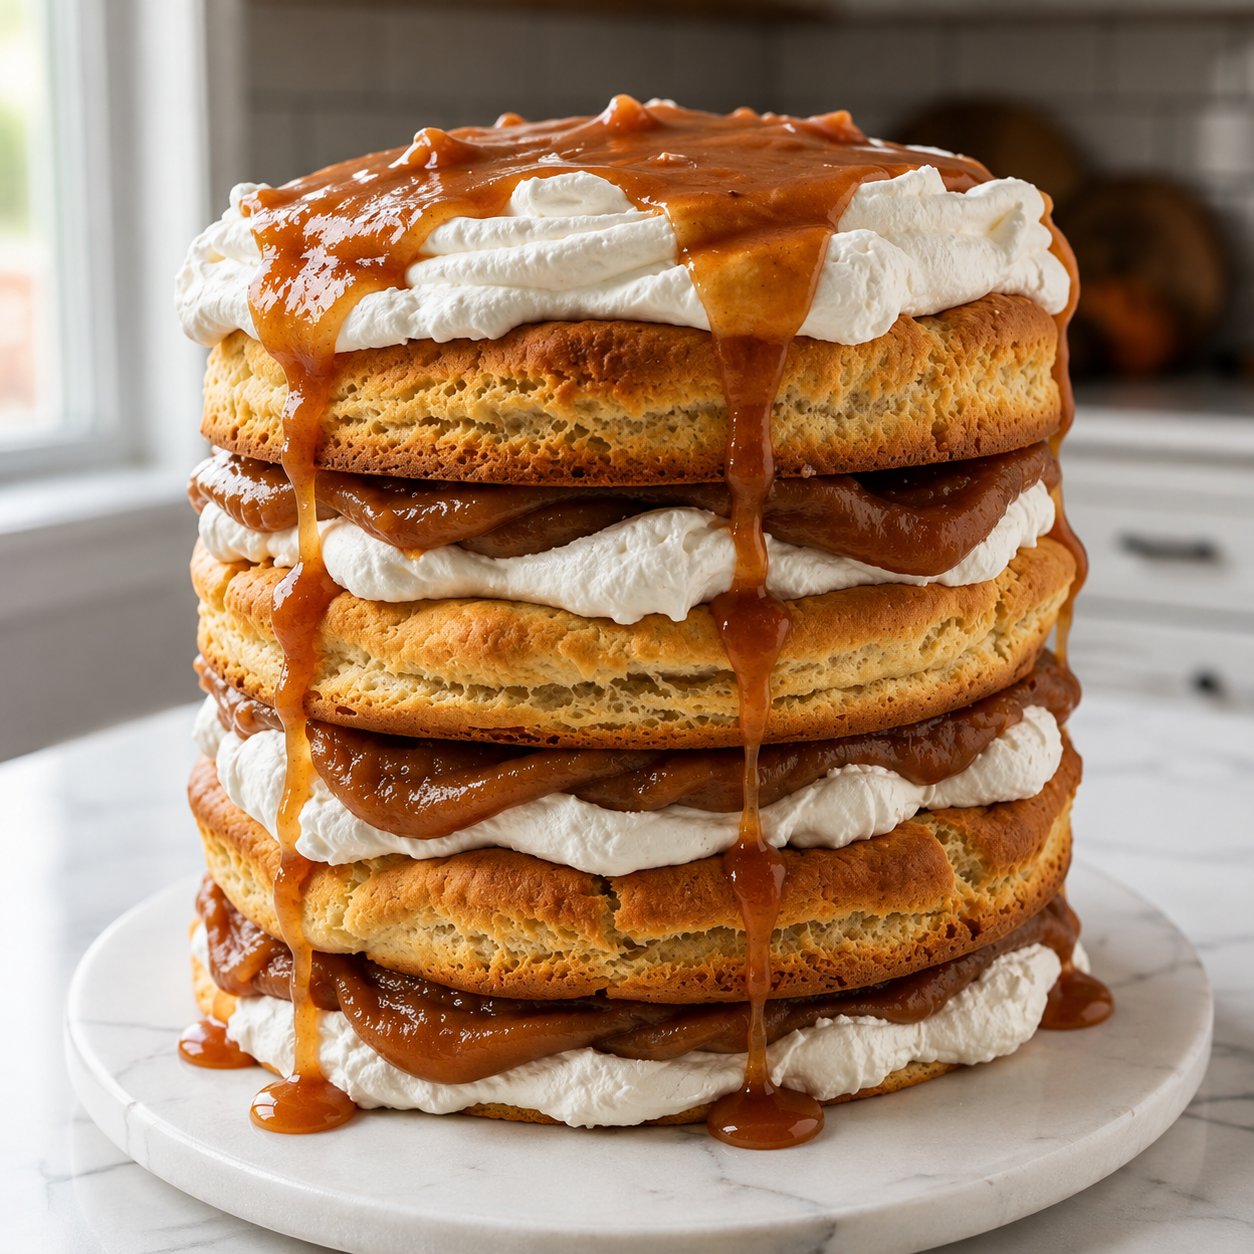
- Assemble the cake by layering the cooled cakes with apple butter in between, then drizzle with the cinnamon glaze.
- Serve and enjoy your delicious apple butter layer cake!
Pro Tips
| Tip | Description |
|---|---|
| Use Room Temperature Ingredients | Allowing butter and eggs to reach room temperature makes them easier to incorporate, resulting in a smoother batter. |
| Measure Flour Correctly | Use a spoon to fluff the flour before scooping it into your measuring cup to prevent dense cake. |
| Cool Layers Completely | Ensure your cake layers are completely cool before frosting to prevent the glaze from melting. |
Why You’ll Love This Recipe
This Apple Butter Layer Cake stands out for its harmonious flavors and comforting aroma. The sweetness of the apple butter marries beautifully with the warm spices, creating a cozy feel. This isn’t just any layer cake; it’s a dessert that evokes memories of family gatherings and fall festivities. The simplicity of the ingredients means that you can easily whip it up, making it suitable for both beginner bakers and seasoned pros.
Its versatility also makes it a crowd pleaser. The easy-to-follow steps allow you to bake this cake for any occasion, from casual coffee mornings to elegant dessert spreads. Plus, it can fit various dietary needs with a few adjustments, appealing to a wide range of tastes.
How to serve Apple Butter Layer Cake
Serving this cake is all about presentation. You can layer it with fresh apple slices or sprinkle some cinnamon on top for an additional touch of flavor. A dollop of whipped cream beside the slice or some vanilla ice cream enhances its richness beautifully.
Pair it with warm beverages like tea or a cup of coffee, which adds to its lovely, cozy essence. You can also serve it alongside a light salad for a delightful contrast, especially when hosting a gathering.
How to store Apple Butter Layer Cake
To keep your Apple Butter Layer Cake fresh, you can store it covered in the fridge, where it will last for about five days. To extend its life, you can freeze the individual slices. Wrap each piece in plastic wrap and aluminum foil, and they’ll stay delicious for about three months.
If you decide to leave it at room temperature, ensure it’s covered, and it should be fine for a couple of days. However, the longer it sits out, the greater the chance of the cream glaze softening and losing its structure.
Tips to make Apple Butter Layer Cake
For the best results, make sure to sift your dry ingredients to prevent clumps and ensure even mixing. You can also experiment with spices, adding nutmeg or ginger for additional flavor depth. Timing is key; don’t open the oven door too early while baking, as this can cause the cake to sink.
Always taste your apple butter before using; if it’s not sweet enough, you may want to adjust the amount of sugar in your batter.
Variation
If you’re looking to mix things up, consider making a gluten-free version by substituting all-purpose flour with a gluten-free blend. For a dairy-free alternative, you can use coconut cream instead of heavy cream and apple sauce in place of butter.
Adjusting the spices can also create a different profile; a pinch of cardamom would add a lovely twist.
Storage and Reheating
To reheat leftover slices, the microwave works well for a quick fix. Place the slice on a microwave-safe plate and warm it up for about 15-20 seconds.
If you prefer a crispy exterior, you can reheat it in an oven preheated to 300°F (150°C) for about 10 minutes. This method helps maintain the cake’s texture without making it dry.
Customization Ideas
Consider personalizing your Apple Butter Layer Cake with toppings such as chopped nuts, crushed graham crackers, or even a drizzle of caramel sauce. For a more exciting flavor, you could incorporate some shredded coconut or add citrus zest to the batter.
Experimenting with layer fillings can also add variety—try using cream cheese frosting or a layer of caramel between the cake layers for a sweet surprise!
Common Mistakes to Avoid
- Overmixing the Batter: This can lead to a dense cake. Mix just until the ingredients are combined.
- Not Prepping Your Pans: Ensure your pans are well-greased and floured to avoid sticking.
- Skipping the Cooling Step: Frosting while warm can result in a gooey mess; always let layers cool completely.
- Using Cold Ingredients: Cold butter or eggs can lead to uneven mixing. Use room temperature ingredients for best results.
- Not Testing for Doneness: Use a toothpick to test the center; it should come out clean to indicate the cake is ready.
Serving Occasions
This Apple Butter Layer Cake is perfect for many occasions. It’s festive enough for holidays like Thanksgiving or Christmas but simple enough for a casual family dinner. It can also be a charming centerpiece for birthday parties, potlucks, or gatherings with friends.
It fits wonderfully into a cozy afternoon tea or coffee break, providing both comfort and a little indulgence.
Why make this recipe
What sets this Apple Butter Layer Cake apart is its blend of nostalgia and flavor. The use of apple butter introduces a unique moisture and sweetness that traditional cakes often lack. The combination of spices invites the warmth of fall into your kitchen, making every bite a sensory experience.
Additionally, it’s a cake that bridges generations. As you bake it, you can infuse your own stories and memories into the process, making it more than just a recipe—it’s a vessel for sharing love with others.
FAQs
Q: Can I use homemade apple butter?
A: Absolutely! Homemade apple butter can enhance the flavor, and it ensures you know exactly what’s in your ingredients.
Q: Is it necessary to use heavy cream for the glaze?
A: While heavy cream creates a rich glaze, you can use whipped coconut cream for a dairy-free alternative that will still taste delicious.
Q: How do I ensure my cake layers are even?
A: Use a kitchen scale to weigh each layer before baking, or use an ice cream scoop for consistent portioning.
Q: Can I make this cake ahead of time?
A: Yes! You can bake the layers a day or two in advance. Just wrap them tightly in plastic wrap and store in the fridge. Assemble just before serving.
Q: Can I decorate the cake in advance?
A: It’s best to glaze the cake shortly before serving to prevent the glaze from soaking into the cake layers.
Disclaimer:
Please note that the nutritional information provided is approximate, and ingredients may vary based on specific brands and measurements. Adjustments can significantly change the nutrition facts. Enjoy your baking!